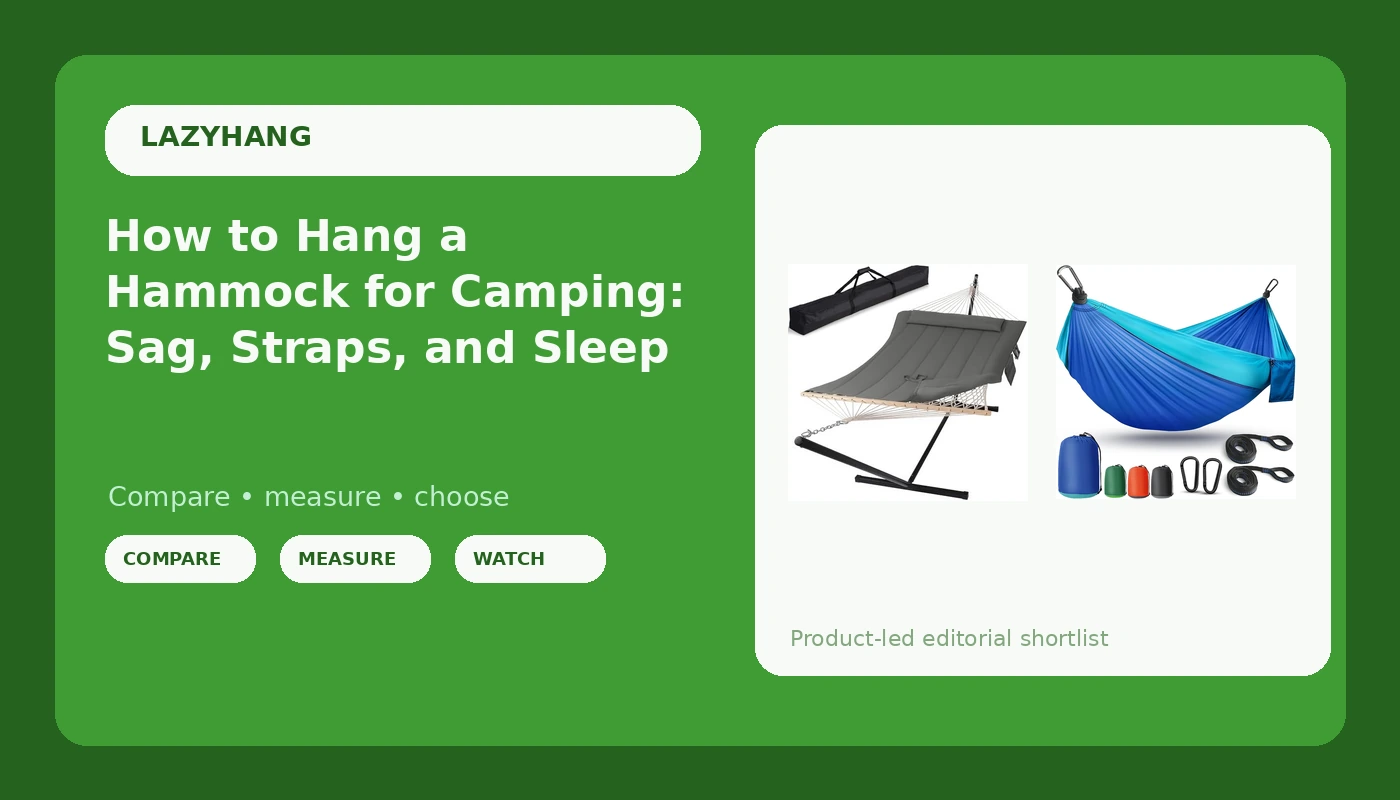
Most hammock camping setup advice starts with the hammock. That is the wrong end of the problem. A hammock is a geometry puzzle, and the geometry gets set by your straps and the angle you hang them at. Get the angle wrong and a two hundred dollar hammock sleeps like a banana. Get it right and a bare nylon one sleeps flat enough that you forget you are off the ground.
I have been hanging hammocks in the Blue Ridge mountains around Asheville for twelve years, and I have made every mistake in this article personally, usually at night, usually in the rain.
The fix is not a fancier hammock. It is twenty minutes of setup done in the right order: anchors, straps, sag, then everything else.
Why you should trust me
I am Marcus, a camping gear reviewer and outdoor educator. Twelve years in, I have slept in more hammocks than beds, from fifteen dollar parachute nylon that tore on day two to three hundred dollar camping systems with integrated bug nets and rain flies. Every summer I run a hammock camp where I hang more than twenty hammocks for a weekend and measure sag, fabric stretch, and what I call the 3 AM comfort test. That test is simple and merciless: if you wake up at three in the morning and would rather be on the ground, the setup failed, no matter how good the fabric feels at nine at night.
I do not care about colorways. I care about whether a hammock sleeps flat, whether the straps are wide enough to protect the tree, and whether the whole thing still holds you at 3 AM when it is wet and cold.
How I picked and how I tested
The two hammocks below are not competing for the same job. One is a bare camping hammock you hang between two trees. The other is a stand hammock for a yard, a deck, or a campsite with no usable trunks. Judging them against each other would be like comparing a tent to a camper.
Every hammock I look at gets the same four questions, in this order:
- Does it sleep flat at a 30 degree hang?
- Are the straps wide and tree safe?
- Does the fabric stretch out overnight?
- Would I trust it at 3 AM in the rain?
A hammock that fails question one never gets to question four, because sag is the thing you cannot fix with accessories. A hammock that ships with rope in the box fails question two immediately, and that is a hard stop for me. Rope cuts into bark and it fails under load, which is the worst possible combination.
Where a hammock is built for one job, I will say so. Neither of these is a compromise pick. They are answers to two different questions.
The gear to get before you hang
You need an anchor before you need a hammock. If you have two healthy trees, you need a hammock and straps. If you do not, you need a stand, and pretending otherwise is how people end up tying off to a roof rack.
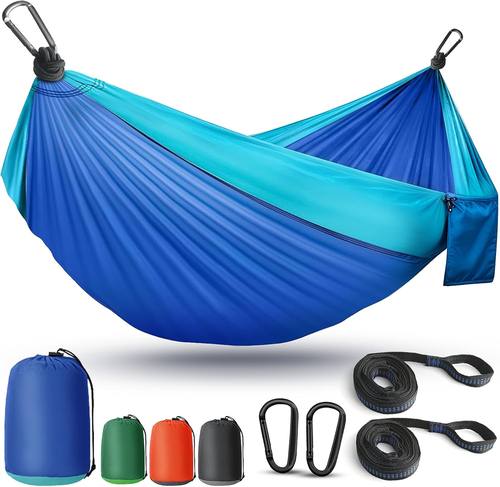
Budget camping pick: Camping Hammock Lightweight, Portable Hammocks Parachute Hammock with Two Tree Straps, Single or Double Travel Swing Nylon Camp Hammocks, Outdoor Essentials for Beach Backpacking Hiking, Blue
 Visit on Amazon →
This is the one that goes in a pack. Parachute nylon packs down small, and the two tree straps in the box are the detail that matters most here, because a huge share of cheap hammocks still ship with rope. Straps are what let you hang without girdling a trunk.
The listing calls it single or double, and that matches how these hammocks work in practice. As a sleeper it is one adult, laid on the diagonal. As a hangout it is two people sitting and talking, which is genuinely how most of these get used on a Saturday afternoon.
Flaws but not dealbreakers: Parachute nylon stretches overnight, so hang it a little higher than feels right and let it settle. There is no structural ridgeline in the box, and no bug net or tarp either. For a day hike or a backyard nap, none of that matters. For actual camping, you will want to add a ridgeline and a tarp, and that is a separate shopping trip. If you want a hammock that arrives as a complete camping sleep system, this is the wrong product.
Backpackers, day hikers, and anyone buying a first hammock to learn the geometry on will get the most out of it.
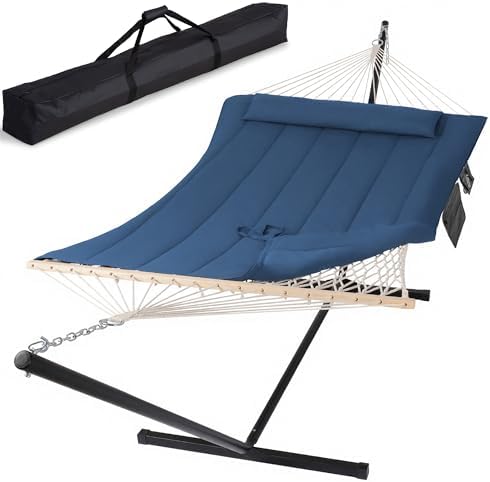
Backyard and car camping pick: SUNCREAT Double Outdoor Hammock with Stand, Carrying Bag, Dark Gray
 Visit on Amazon →
This one solves the anchor problem, which is the problem that stops most people from hanging at all. A stand means no trees required: a deck, a patio, a driveway, a festival field, or a campsite where the only trunks are too small to load. The carrying bag means it travels, though this is a car camping item, not something you carry on a long hike.
The double here is honest about what double means. It is wide fabric, good for two people sitting and one person sleeping. That is the truth about almost every hammock marketed as a double, and I would rather you hear it from me than find out at 3 AM.
Flaws but not dealbreakers: A stand sets your hang geometry for you. You cannot tune the sag the way you can between two trees, so if the lay does not suit you, your options are limited to shifting how you lie in it. It is also bulky compared to a packed parachute hammock, which is the price of not needing trees. And because it is a stand system, it is not the hammock you take into the backcountry.
Anyone with a yard, a rental with a patio, or a car camping habit and no dependable trees should look here first.
The actual setup workflow
This is the part that decides whether you sleep. Do these in order. Skipping ahead to the fun part is how you end up re-hanging the whole thing in the dark.
Step one: Pick your anchors. Look for two trees 12 to 15 feet apart, at least 6 inches in diameter, alive, and free of dead limbs overhead. Never hang from a single trunk, a light pole, a park sign, a railing, or a vehicle rack. If the trees are not there, use a stand. That is not a downgrade, it is the correct answer to a site with no anchors.
Step two: Wrap your straps. Two inch wide straps, wrapped around each trunk at roughly chest to head height, with the strap sitting flat against the bark. Wider is better. Narrow webbing and rope concentrate load on a thin band of cambium, and a tree that gets girdled does not recover. A forest ranger once walked me through what two inch straps versus rope does to the same trunk over a decade, and I have never hung on rope since.
Step three: Find 30 degrees. Your suspension should leave the tree at roughly 30 degrees from horizontal, which is the sleep sweet spot. The old trick still works: make a finger gun, thumb up and index finger out, and the angle between thumb and finger is about 30 degrees. Steeper than that and you curl into a banana. Flatter than that and you are putting needless tension on the fabric and the straps. I preach 30 degrees and then eyeball it every single time, so do not feel bad about eyeballing it too.
Step four: Set your sit height. Once you are in the hammock, the lowest point of the fabric should sit around 18 inches off the ground. That is roughly knee height. If you bottom out when you sit down, or you scrape the ground when you shift, raise both straps a few inches and try again.
Step five: Lie on the diagonal. In a gathered end hammock, sleep corner to corner, not along the centerline. Head off to one side, feet off to the other. This opens the fabric up flat under you and it is the single biggest sleep quality fix available. People who say hammocks are uncomfortable are almost always sleeping along the center seam.
Step six: Add a structural ridgeline for camping. A ridgeline is a cord running from one end of the hammock to the other. It locks in your sag so the hang is repeatable, gives you the same lay every night, and gives you somewhere to hang a bug net and a light. This is the line between a backyard hammock and a camping sleep system.
Step seven: Add the bug net and the tarp. These are not accessories. They are the difference between camping and surviving. The tarp goes over the ridgeline, the bug net hangs under it, and both get pitched before you are tired enough to argue with them.
Step eight: Run the 3 AM test. Sleep in the setup in your yard before you trust it in the woods, and do it on a night with rain in the forecast if you can. The test is one question at three in the morning: would I rather be on the ground? If the answer is yes, something in steps one through seven is off, and it is usually the angle.
Caveats worth repeating. Nylon relaxes overnight, so if your backside touches down at dawn, you hung too low. Below about 70 degrees, you need insulation underneath you, because a hammock compresses whatever is in your sleeping bag and you lose heat from below. Do not hang over water, rock, or anything you would not want to land on. And check the rules for the land you are on, because some state parks restrict hanging to protect the trees.
What I left out and why
Hammock chairs are not sleep systems, so they do not belong in a guide about sleeping. Suspension kits that include rope are an automatic skip, for the reasons in step two. Ultralight systems with everything sewn into one piece are genuinely great, but they solve a problem most people do not have yet, and you should learn your sag angle on something simple first.
I also left out the idea that a double hammock sleeps two adults. It does not. Two adults in one hammock sleep badly, wake each other up, and blame the hammock. Buy one per person.
What this all costs
The honest math is cost per night, not sticker price. Check current Amazon price on the camping hammock and check current Amazon price on the stand hammock, then divide each by the number of nights you will realistically hang this year. If you are a weekend camper, that number gets small fast, and the stand version starts looking like furniture rather than gear.
Then budget for the pieces the hammock does not include. For camping you will add a structural ridgeline, a tarp, a bug net if yours does not have one, and insulation for underneath. For the stand version, none of that is strictly required for a backyard nap, though a tarp is still nice if you plan to sit out a drizzle.
Where the money genuinely matters: buy wide straps before you buy a fancier hammock. Straps protect the tree, they protect you, and they cost less than the upgrade you were considering.
That is the whole job. Your hammock was built to do this. Set the geometry once, and you will start canceling your afternoon plans.