Learning how to hang a hammock looks like a two-minute job. Two straps, two trees, done. Then you lie down, your feet slide together, your head sits six inches below your hips, and by 2 AM you are a banana with a backache.
The gap between that and a flat, all-night sleep is geometry. Angle, height, distance between trees, and the width of your straps decide almost everything. Fabric quality is the last 10 percent, and no amount of expensive ripstop saves a bad hang.
I have been hanging hammocks in western North Carolina for 12 years, and I still measure the angle on every setup before I get in. Here is the whole process, plus the two hammocks I point people toward depending on whether they have trees.
Why you should trust me
I review camping gear out of Asheville, and I have slept in more hammocks than beds. Every summer I run a hammock camp where 20 or more hammocks go up for a weekend, and I measure the things that actually decide whether you sleep: hang angle, sag, overnight fabric stretch, and what I call the 3 AM comfort test. That last one is the only score that matters. A hammock can feel great at 9 PM and be unbearable at 3 AM when the temperature drops, the wind picks up, and your shoulders have been pinned in one position for six hours.
Twelve years of that has taught me that most hammock complaints are setup complaints. People blame the hammock for a hang problem, then buy a new hammock that has the same hang problem.
I do not recommend anything I would not sleep in, I do not call a hang tree-safe without checking strap width, and I do not call a setup camp-ready without a rain test. Those three rules have kept my recommendations boring and reliable.
How I picked these two hammocks
The two hammocks below cover the two situations almost everybody runs into: you have trees, or you do not. That split matters more than brand, price, or color.
When I evaluate either type, I look at four things. Can it hold two adults without the fabric stretching into a bowl overnight? Does it work as a sleep system rather than a lounge chair, which means it can take a structural ridgeline and a tarp? Is the suspension tree-safe, meaning 2-inch straps and never rope? And does it pack or store in a way that matches how you will actually use it?
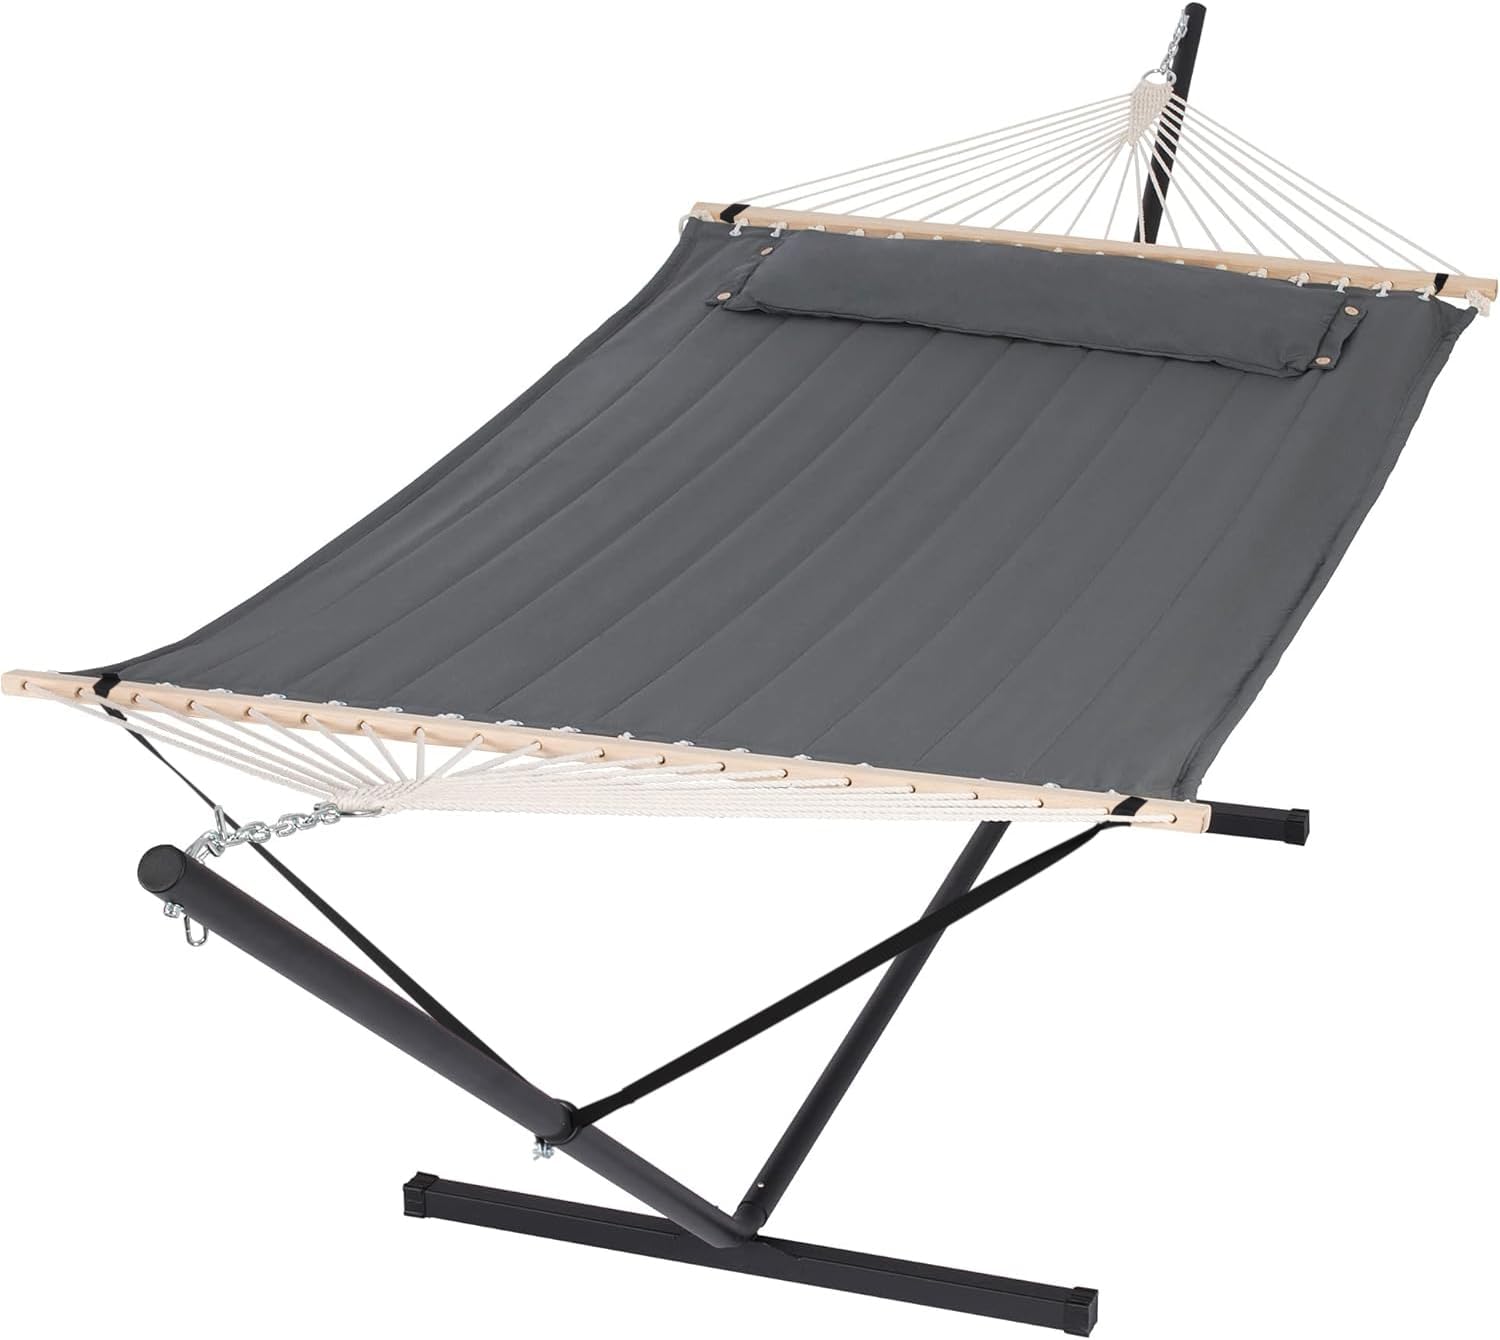
The no-trees pick: SUNCREAT 2 Person Hammock with Stand, 475 lbs Capacity, Dark Grey
 Visit on Amazon →
This is the answer for anyone who wants to hang without touching a tree. The stand is the point. No straps, no angle math, no arguing with a park ranger about bark damage, and no two perfect trees required. It sets up on a patio, a deck, a balcony, or a rented yard where you cannot drill or wrap anything.
The 475-pound capacity in the name is the number that matters here. That is a genuine two-adult rating with headroom, which is unusual in this category. The dark grey fabric is the practical choice, since a stand hammock lives outside and gets rained on eventually. Check current Amazon price before you order, because it moves around with the season.
Flaws but not dealbreakers: A stand hammock stays where you put it, so this is a backyard and campsite-basecamp tool, not a backpacking tool. You also give up some control over the hang angle, since the stand sets the geometry rather than your strap height. Sit in it for 15 minutes before you commit to a full night, and adjust the stand if the lay feels too deep.
Anyone without two suitable trees, or anyone who wants a hammock up permanently in the yard, should start here.
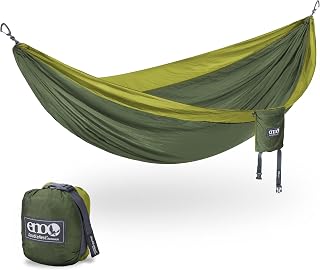
The packable pick: ENO, Eagles Nest Outfitters DoubleNest Lightweight Camping Hammock, 1 to 2 Person, Special Edition Colors, ATC
 Visit on Amazon →
The DoubleNest is the hammock that goes in the pack. It is lightweight parachute nylon, it packs down to about the size of a grapefruit, and the special edition colorways are the reason people actually keep pulling it out of the bag instead of leaving it in the closet. Check current Amazon price on the listing, since the color you want drives the number.
The "1 to 2 person" rating is worth reading honestly. Two adults fit if they like each other and neither one moves much. One person fits with room to lie on the diagonal, which is how you sleep flat in a gathered-end hammock, and that is the way most people will actually use it.
Flaws but not dealbreakers: The hammock body is the easy part of a sleep system. Before you head out, confirm you have 2-inch tree straps in your kit, because rope is not an option and a hammock with no suspension is a very comfortable ground cloth. If you plan to sleep overnight, budget for insulation underneath and a tarp overhead too, since nylon has no warmth of its own.
This is the one for backpackers, road trippers, and anyone who wants a hammock in the trunk for the two trees at the trailhead.
The 30-degree rule, step by step
This is the part that decides your night. Work through it in order.
Step one: pick your trees. Look for two trees 13 to 16 feet apart with trunks 6 to 10 inches across. They should be alive, standing, and free of dead branches overhead. A dead limb is called a widowmaker for a reason, and no hammock setup is worth one. Also check whether hanging is allowed. Plenty of state parks prohibit attaching anything to trees, and a stand hammock sidesteps that entirely.
Step two: wrap at the right height. Put your straps at roughly shoulder height on the trunk, which for most adults is 5 to 6 feet. Higher anchors mean a flatter hang with more tension. Lower anchors mean a deeper, more relaxed hang. Start around shoulder height and adjust from there.
Step three: set the angle to 30 degrees. The suspension should leave the tree at about 30 degrees from horizontal. Here is the field trick: make a pistol shape with your hand, thumb pointing straight up and index finger pointing straight out. The angle between thumb and finger is roughly 45 degrees. Split that in half and you have your target. If your straps are nearly horizontal, you have a tension problem and you are loading the trees far harder than you think. If they drop steeply toward the ground, you have built a bucket.
Step four: raise the foot end. Hang the foot end 6 to 12 inches higher than the head end. You slide toward the low point of the hammock, so starting higher levels you out once you are in. This one adjustment fixes most of the "my feet are higher than my head" complaints people blame on the hammock.
Step five: sit before you lie. Sit in the middle and let your weight settle the fabric. If the hammock dumps you toward one end or the edge rolls under you, the angle is off. Fix it now, not at midnight.
Step six: lie on the diagonal. Do not lie along the center line. Shift your body 10 to 20 degrees off axis so your shoulders go to one side of the fabric and your hips to the other. That is what turns a curved banana into something close to a flat bed.
The ridgeline trick that makes it repeatable
If you only take one thing from this guide, take this: add a structural ridgeline. It is a length of cord running from one end of the hammock to the other, over your head, and it sets the sag for you no matter how far apart the trees are. The common starting point is about 83 percent of the hammock body length. It also gives you a place to hang a bug net, a headlamp, and your glasses.
The reason it matters is repeatability. Without a ridgeline, every pair of trees changes the hang, so you re-learn your setup at every campsite. With one, the hammock feels the same in Georgia as it does in Oregon, and you can dial in comfort once and keep it.
If your hammock is not designed for a ridgeline, check the manufacturer's guidance before you start threading cord through the ends. On a basic gathered-end hammock, most people run the ridgeline to the suspension rather than modifying the hammock itself.
Straps, trees, and the 3 AM test
Two-inch straps, every time. One-inch webbing concentrates the same load on a narrower band, and rope is worse still. Thin cord cuts into the cambium layer under the bark, and a tree can be girdled by a few nights of thoughtless hanging. A ranger walked me through a stand of maples a decade ago and showed me the scars. It changed how I pack.
Once the hang is right, the sleep system is the next problem. Nylon has no insulation, and cold air moves underneath you all night, which is why experienced hangers talk about underquilts and pads before they talk about hammocks. As a rough rule, below about 65 degrees Fahrenheit you want something under you, and below 50 you want real insulation. A tarp overhead turns a clear forecast into a non-issue. A bug net turns July into a normal month.
Then run the 3 AM test: set the whole thing up in the backyard, sleep in it, and see how you feel at 3 AM. Every problem with a hammock setup shows up in the middle of the night, and the backyard is a much better place to find it than four miles from the trailhead.
Common mistakes I see every summer
Rope in the box. If a hammock ships with rope, replace it before you hang. Rope damages trees and it fails under load in ways webbing does not.
Hanging too tight. A taut hammock feels stable for about 30 seconds and then the tension turns on you. Flatter is not better. Thirty degrees is better.
Hanging too steep. The opposite mistake, and just as uncomfortable. You end up sitting in a fabric bucket with your knees in your chest.
Skipping the foot-end rise. This is free comfort that takes five seconds to adjust.
Ignoring the trees. Check for dead limbs, check the trunk diameter, and check the rules. The best hammock in the world is not worth a hospital visit.
Expecting a hammock to be a bed without insulation. Cold from below is the number one reason people give up on hammock camping after one trip.
What this all costs
The hammock is the cheap part of the system. The money goes into the suspension, the insulation underneath, and the tarp overhead, which together can cost more than the hammock itself and matter more than the hammock itself.
The two setups above split the difference by situation rather than by budget. A stand hammock replaces your tree straps and your tarp problem for casual backyard use, since you can carry it inside when the weather turns. A packable hammock costs less and goes further, but it only earns its keep once you add straps, insulation, and a tarp. Check current Amazon price on both and compare against what else is already in your gear bin.
The cost-per-night math favors whichever one you actually use. A hammock that hangs in the yard all summer beats a lighter one that stays in the closet.
The short version
Hang at 30 degrees. Raise the foot end 6 to 12 inches. Use 2-inch straps and never rope. Lie on the diagonal. Add a ridgeline so the setup repeats. Test it in the backyard before you trust it in the backcountry.
Get those five things right and the hammock disappears underneath you, which is the entire goal. The best hammock night is the one you do not remember, because you slept through all of it.